How to save $130 on Bluehost hosting
This blog that you are reading RIGHT NOW (yes, YOU!) is hosted by Bluehost. The hosting isn't not free - the standard price is $6.95 per month (and that's if you pay for three years in one go).
BUT, if you're a new member to Bluehost, it's only $3.95 a month. This is a difference of roughly $130 over three years.
My Bluehost account was due to expire a few days ago. I had an idea - why not become a new member by making a new account, thereby paying the new members' tariff? I could transfer my content and domain names across without too much hassle, I thought.
So this is what I did. It took about four hours, but I did it, goddamnit.
The basic steps are:
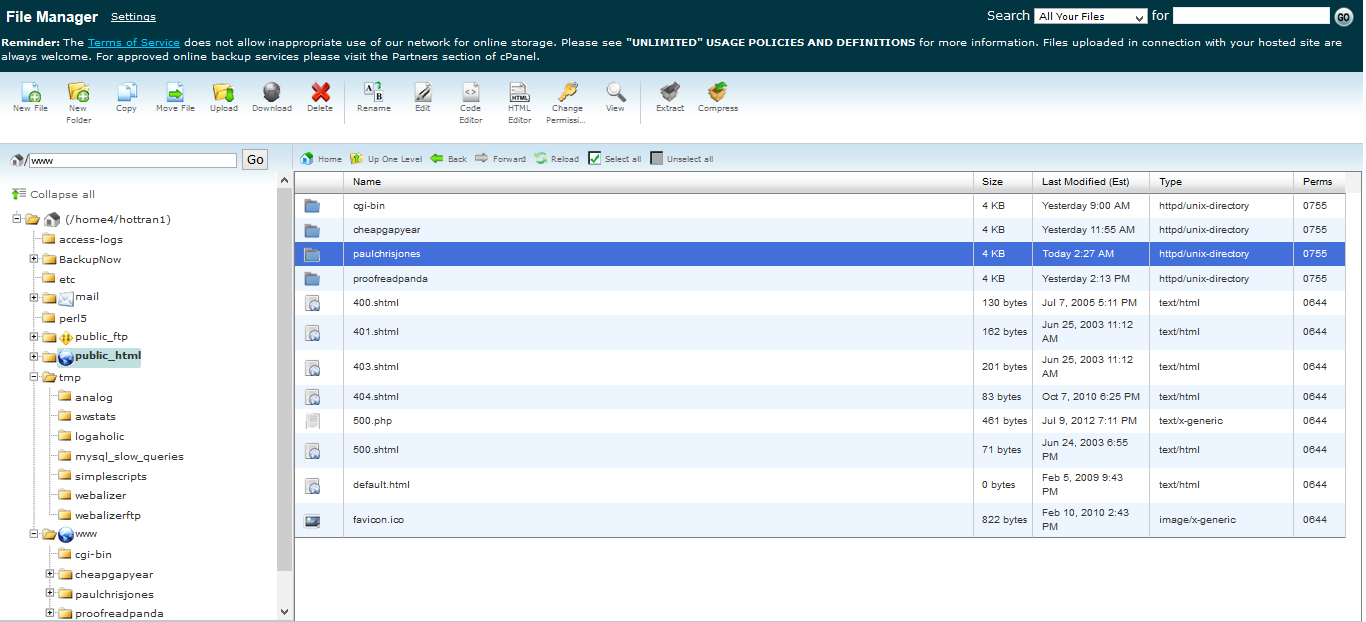
- Download your site content to your computer. Go the Bluehost cPanel, select File Manager, and then Web Root. On the next page that opens, select your domain, and choose Compress. This will put all the files into a zip file. When it's finished, download the zip file to your computer.
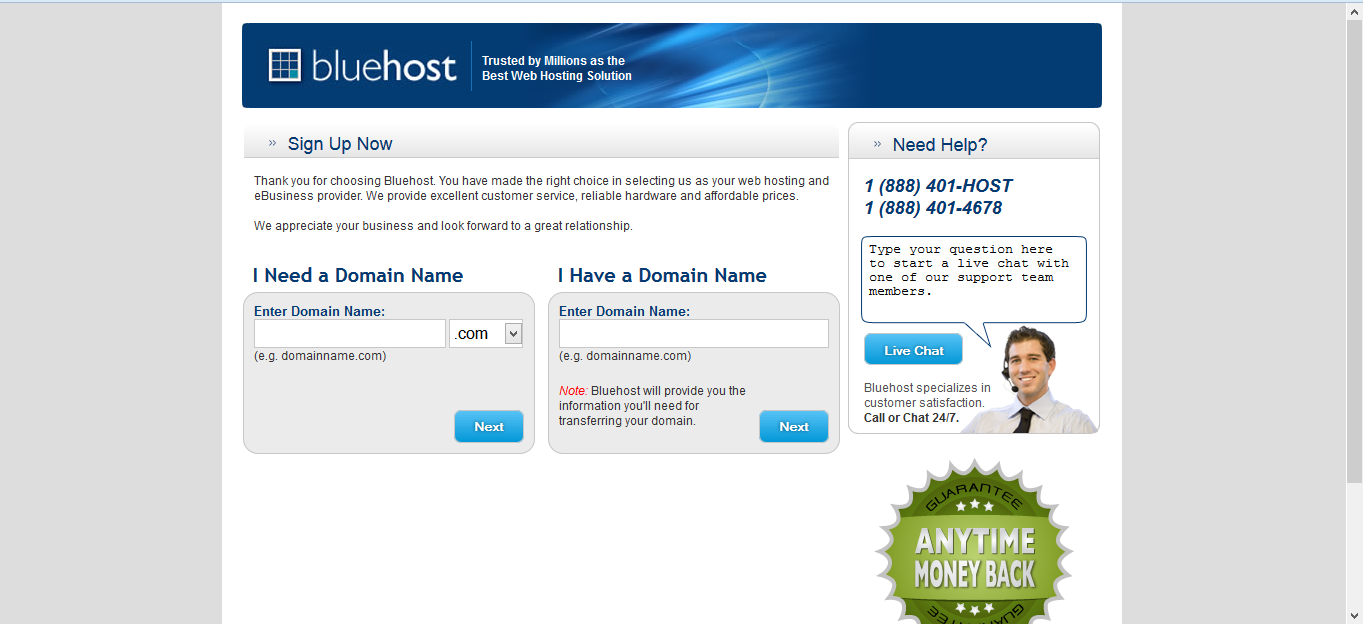
- Create a new Bluehost account. You have the option of transferring an existing domain name or creating a new one. When I tried transferring my existing domain name, the price inexplicably changed to $4.95 a month. Instead of paying an extra dollar a month, I chose to create a new domain name instead. Besides, you can transfer your domain in the next step.
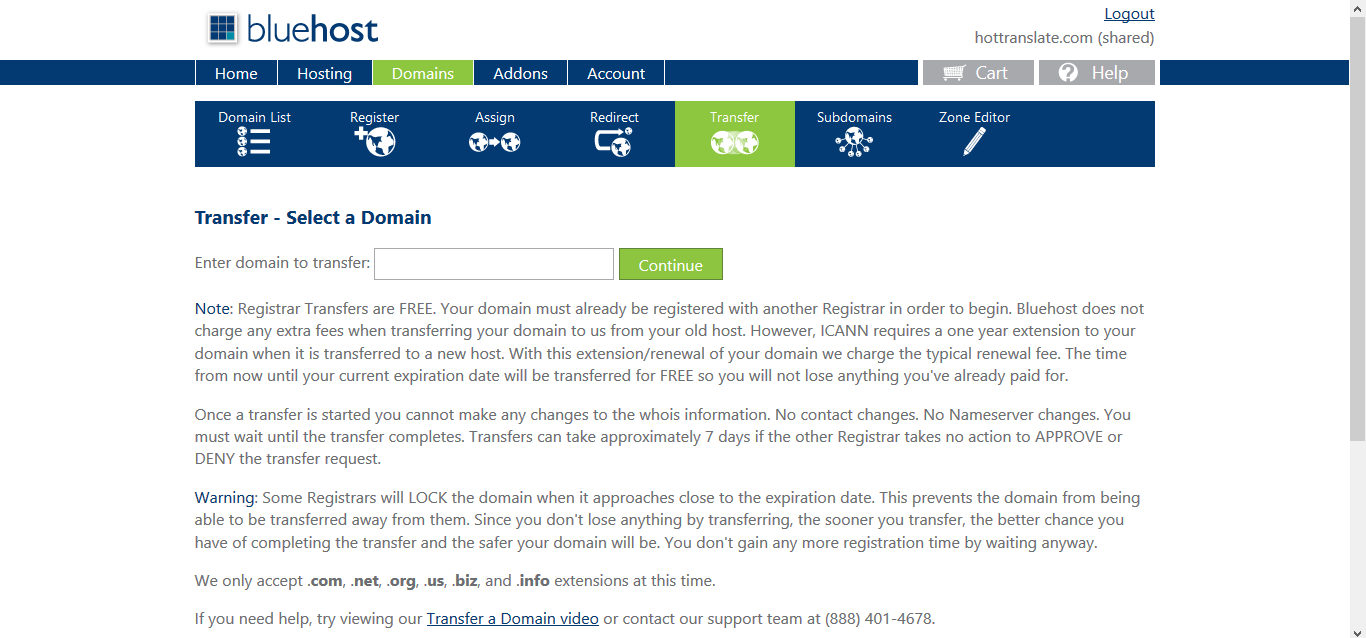
- Transfer the domain name from your old Bluehost account to your new one. In the new account, from the Bluehost cPanel, choose Domains (up at the top) > Transfer, and then go through the process of transfering your domain.
- Upload your site content from your computer to the new account. I used Filezilla for this, though you can also use Bluehost's File Manager, as in step 1. You would need to upload the zip file from step 1, and then choose to Extract it. By the way, it may take a few hours for the domain transfer from step 3 to fully complete, until which point you won't see your content.
For me, it was more complicated because I have Wordpress installed on one domain. I had to follow these steps instead of the ones above:
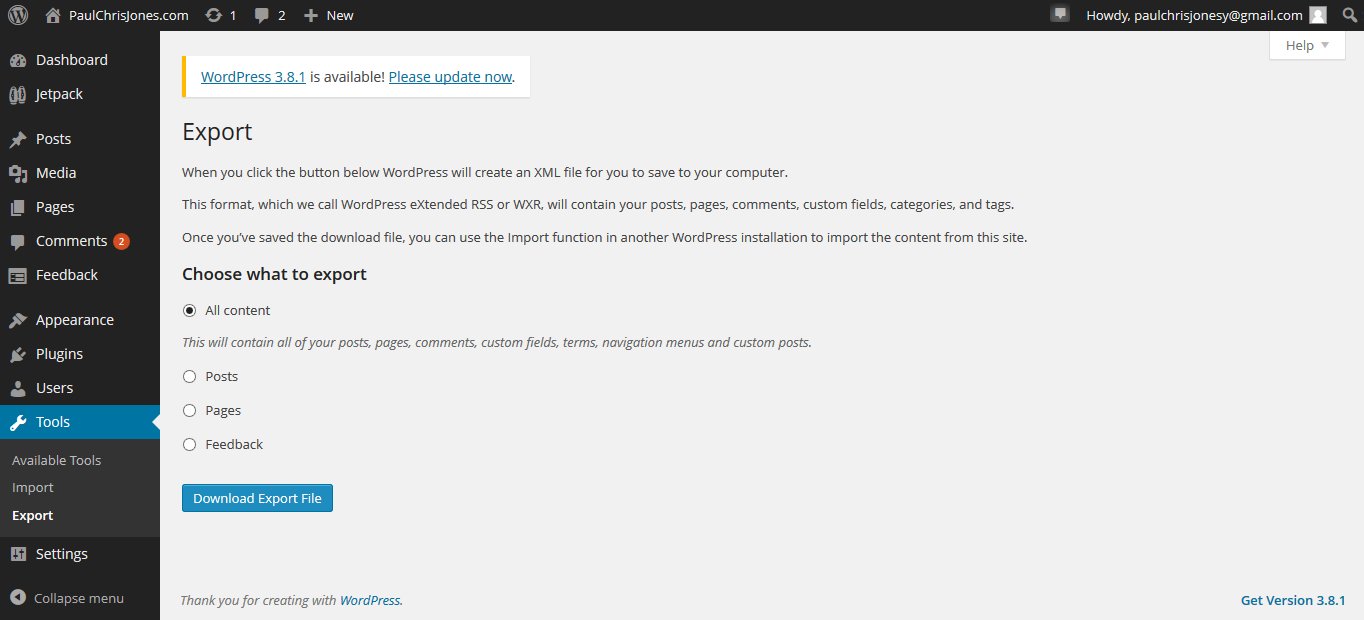
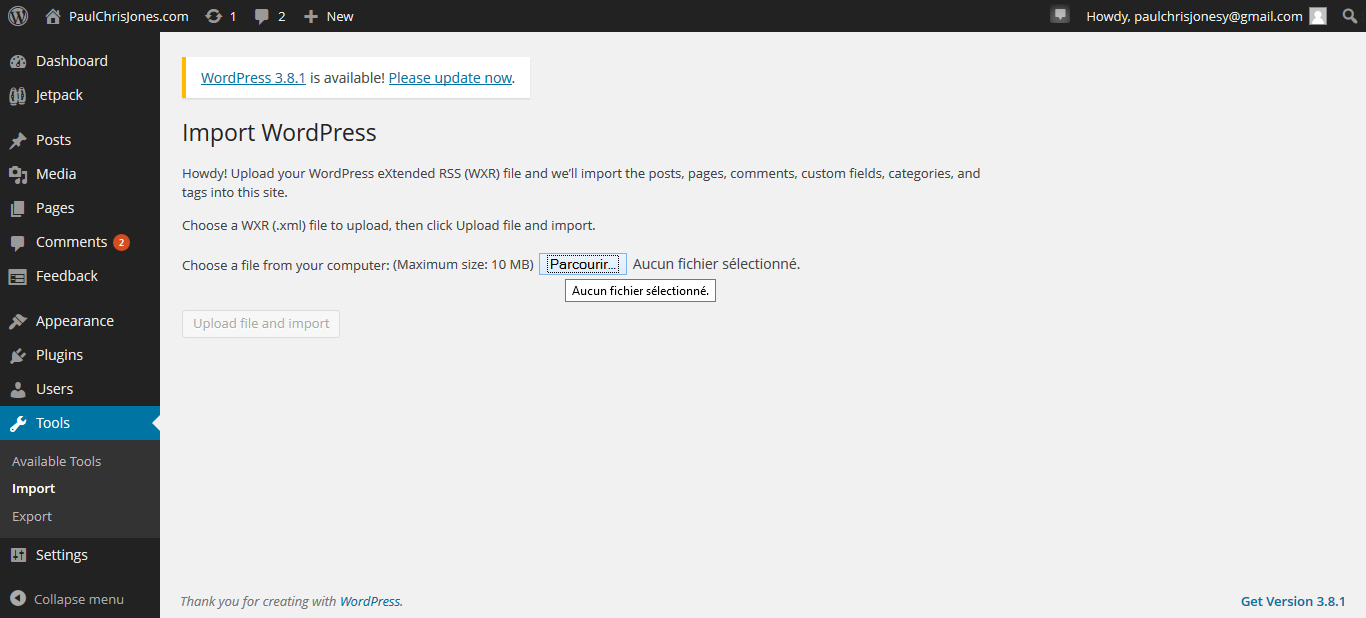
- Download a Wordpress backup to your PC (from the Wordpress dashboard, go to Tools > Export > All content). This doesn't make a copy of the images, however, which you'll do in Step 2.
- Download the wp-content file from Bluehost. You can use Bluehost's File Manager to download it as a zip file.
- Uninstall Wordpress from the domain. Mojo Marketplace is the place to do this.
- Create a new Bluehost account
- Transfer the domain name from your old Bluehost account to your new one
- Upload the wp-content folder to the new account. I used FileZilla for this, but you could also use Bluehost's File Manager.
- Install Wordpress onto the domain. Again, use Mojo Marketplace. You'll have to wait for a few hours first for the domain to transfer fully, otherwise you'll get errors.
- Upload the Wordpress backup to Wordpress (Tools > Import > Wordpress).
Even then I had to fix a few things, such as
- deleting Wordpress's stupid first post and page examples
- changing the theme back to the one I like
- activating plugins (your installed plugins get transferred, but for some reason you have to reactivate them)
It all seemed technical but I managed to do it with sheer willpower and internet tutorials. If I'd known what was I doing from the beginning, it would have been fairly simple.

Leave a comment